What photos does a window quote need?
Plan the shots before you walk the house, so you take them once and in order. Each one has a job, and most do two.
- Number the windows on the front photo (left to right, upstairs then down) and use the same numbers on the measure sheet. The photo becomes the map for everyone who touches the job after you.
- Take the photos before you measure. If a window is hard to reach, you'll know before the ladder comes off the truck.
The window quote shot list
The front
- How to take it
- Straight on from across the street, the whole house in the frame with a strip of sky above the roof and ground below the foundation
- What it's for
- The quote, the measure sheet and the render
Each side and the back
- How to take it
- Only the walls with windows on the job, straight on, from as far back as the yard allows
- What it's for
- The window count and locations for the order and the crew
Each room's main window
- How to take it
- From across the room: the whole window, sill to head, with some wall on each side
- What it's for
- The inside render and the interior trim plan
Problems up close
- How to take it
- Fogged glass, a soft sill, a cracked or painted-shut sash, with your hand or a tape in the shot for scale
- What it's for
- The reasons on the quote, and a record of the condition before work starts
Labels and markings
- How to take it
- Any sticker or etching in a corner of the glass, close enough to read
- What it's for
- Identifying the old windows for the order and the warranty questions
Access
- How to take it
- Decks, steep slopes, shrubs, power lines, anything the crew has to work around
- What it's for
- Planning the install day
| Shot | How to take it | What it's for |
|---|---|---|
| The front | Straight on from across the street, the whole house in the frame with a strip of sky above the roof and ground below the foundation | The quote, the measure sheet and the render |
| Each side and the back | Only the walls with windows on the job, straight on, from as far back as the yard allows | The window count and locations for the order and the crew |
| Each room's main window | From across the room: the whole window, sill to head, with some wall on each side | The inside render and the interior trim plan |
| Problems up close | Fogged glass, a soft sill, a cracked or painted-shut sash, with your hand or a tape in the shot for scale | The reasons on the quote, and a record of the condition before work starts |
| Labels and markings | Any sticker or etching in a corner of the glass, close enough to read | Identifying the old windows for the order and the warranty questions |
| Access | Decks, steep slopes, shrubs, power lines, anything the crew has to work around | Planning the install day |
How do you take the front photo?
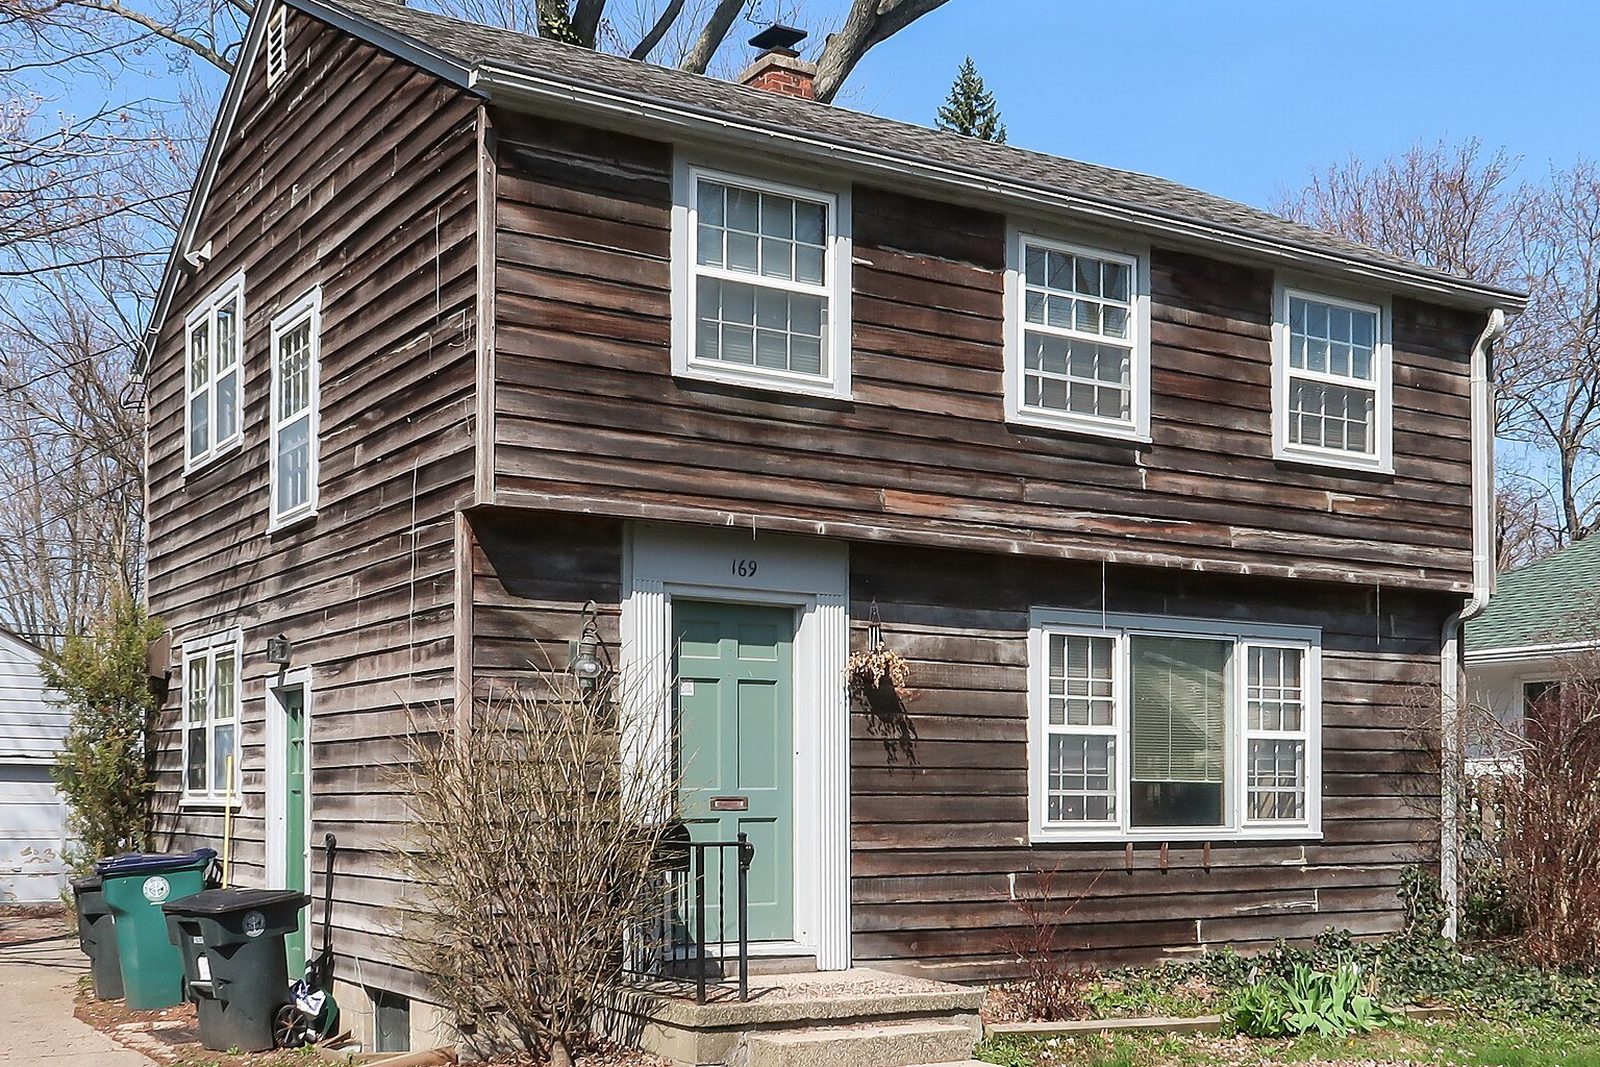
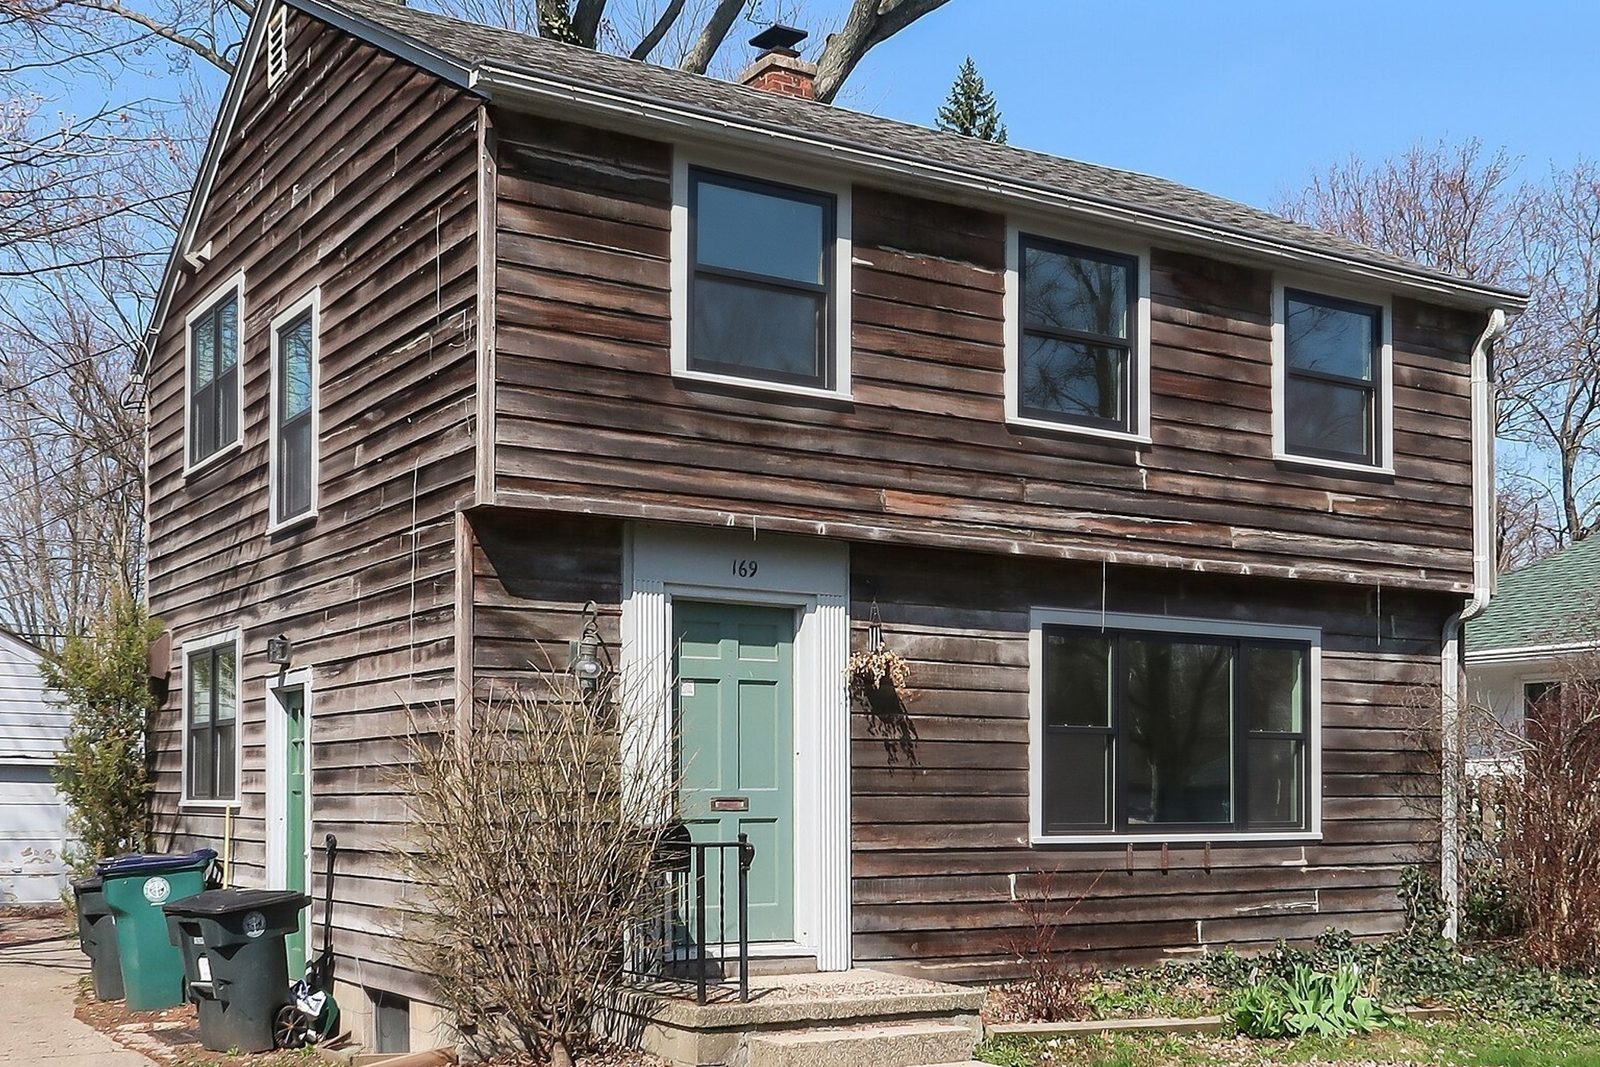
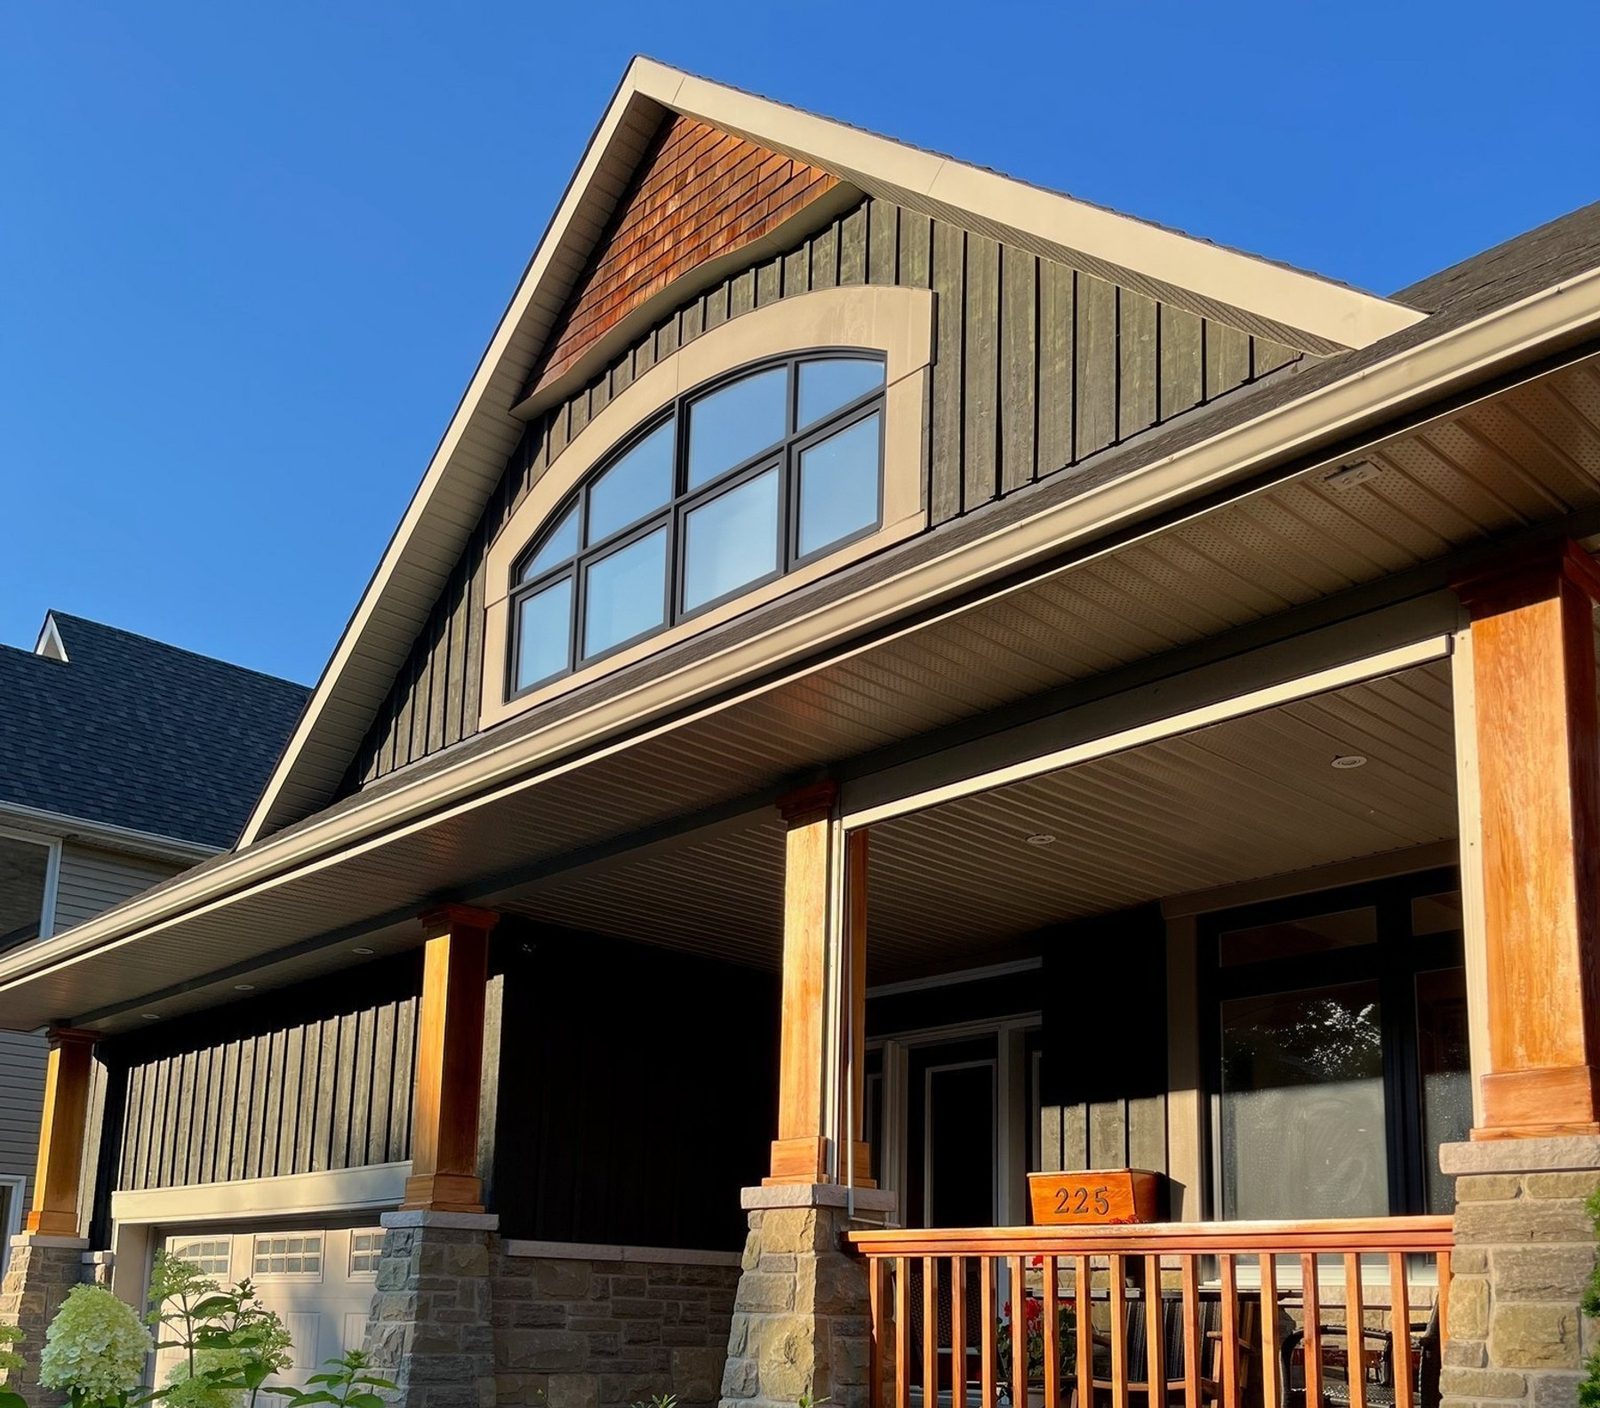
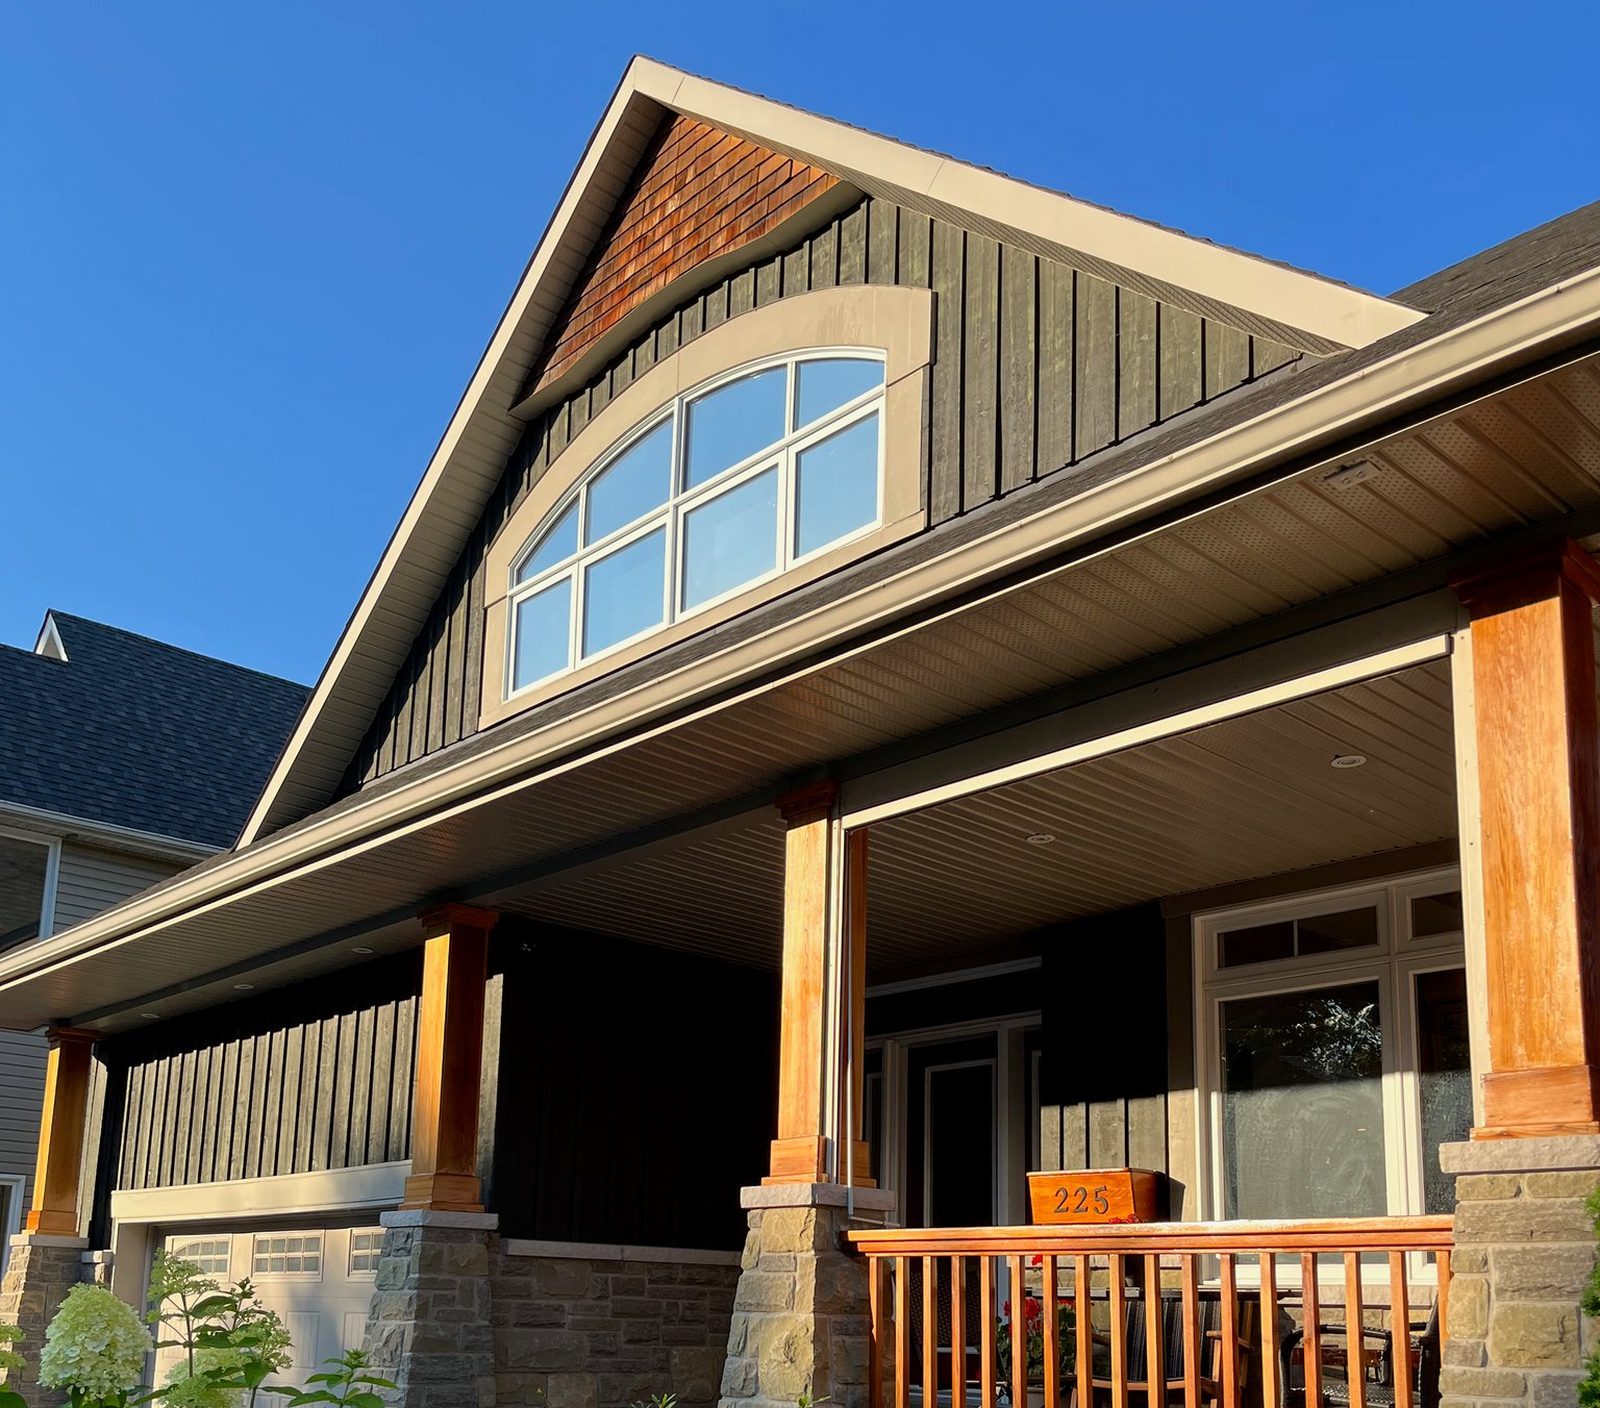
This is the shot that does the most work, so give it a minute. A square, sharp, well-lit front photo helps the measure sheet and the quote as much as the render.
- Stand back. Across the street or at the end of the driveway, far enough that the whole house fits with a little room on every side. Walk back rather than zoom.
- Square up. Stand in line with the middle of the front, so the roofline runs level across the frame and the windows at both ends come out the same size.
- Use the main lens. The ultra-wide (0.5x) lens fits more in, but it bends straight lines near the edges and stretches the end windows.
- Hold the phone level, at chest height. Turn on the camera's grid lines and keep the corners of the house upright.
- Turn the phone sideways for most houses. A tall, narrow house is the exception.
- Tap a wall of the house before you shoot, so the camera sets focus and brightness for the house, not the sky.
- Skip filters and portrait mode. A filter shifts the siding and trim colors the homeowner will judge the new frames against.
- Take three or four, and keep the sharpest.
What in a photo gets in the way of a good render?
We test renders on licensed photos of real houses and check each one against its photo, window by window. The render can only work with what the photo shows, so the best render starts with a clear photo, and most of what gets in the way can be fixed at the camera.
Photo problems, and what to do about them
A branch, sign or AC unit in front of a window
- Why it matters
- It hides part of the window you're quoting
- What to do
- Move a step or two until the glass is clear, keeping the house square
Curtains or blinds closed behind the glass
- Why it matters
- They hide the glass and the inside edge of the frame
- What to do
- Open them if the homeowner doesn't mind, so the whole window shows
Trees reflected in the glass
- Why it matters
- Reflections can look like grids in the glass
- What to do
- Shoot on a bright overcast day if you can, and pick the grille pattern you're quoting rather than Same as now
A car or truck in the driveway
- Why it matters
- The windows behind it are hidden, so there's nothing to render
- What to do
- Ask them to move it, or shoot from a spot where it doesn't block a window
Dusk, night, or a window glowing from inside
- Why it matters
- The frames are hard to make out
- What to do
- Shoot outside in daylight. After dark, photograph a room instead
A screenshot, or a photo sent through several apps
- Why it matters
- A small, soft file makes a soft render
- What to do
- Use the original from the camera roll
| In the photo | Why it matters | What to do |
|---|---|---|
| A branch, sign or AC unit in front of a window | It hides part of the window you're quoting | Move a step or two until the glass is clear, keeping the house square |
| Curtains or blinds closed behind the glass | They hide the glass and the inside edge of the frame | Open them if the homeowner doesn't mind, so the whole window shows |
| Trees reflected in the glass | Reflections can look like grids in the glass | Shoot on a bright overcast day if you can, and pick the grille pattern you're quoting rather than Same as now |
| A car or truck in the driveway | The windows behind it are hidden, so there's nothing to render | Ask them to move it, or shoot from a spot where it doesn't block a window |
| Dusk, night, or a window glowing from inside | The frames are hard to make out | Shoot outside in daylight. After dark, photograph a room instead |
| A screenshot, or a photo sent through several apps | A small, soft file makes a soft render | Use the original from the camera roll |
How do you photograph a window from inside the house?
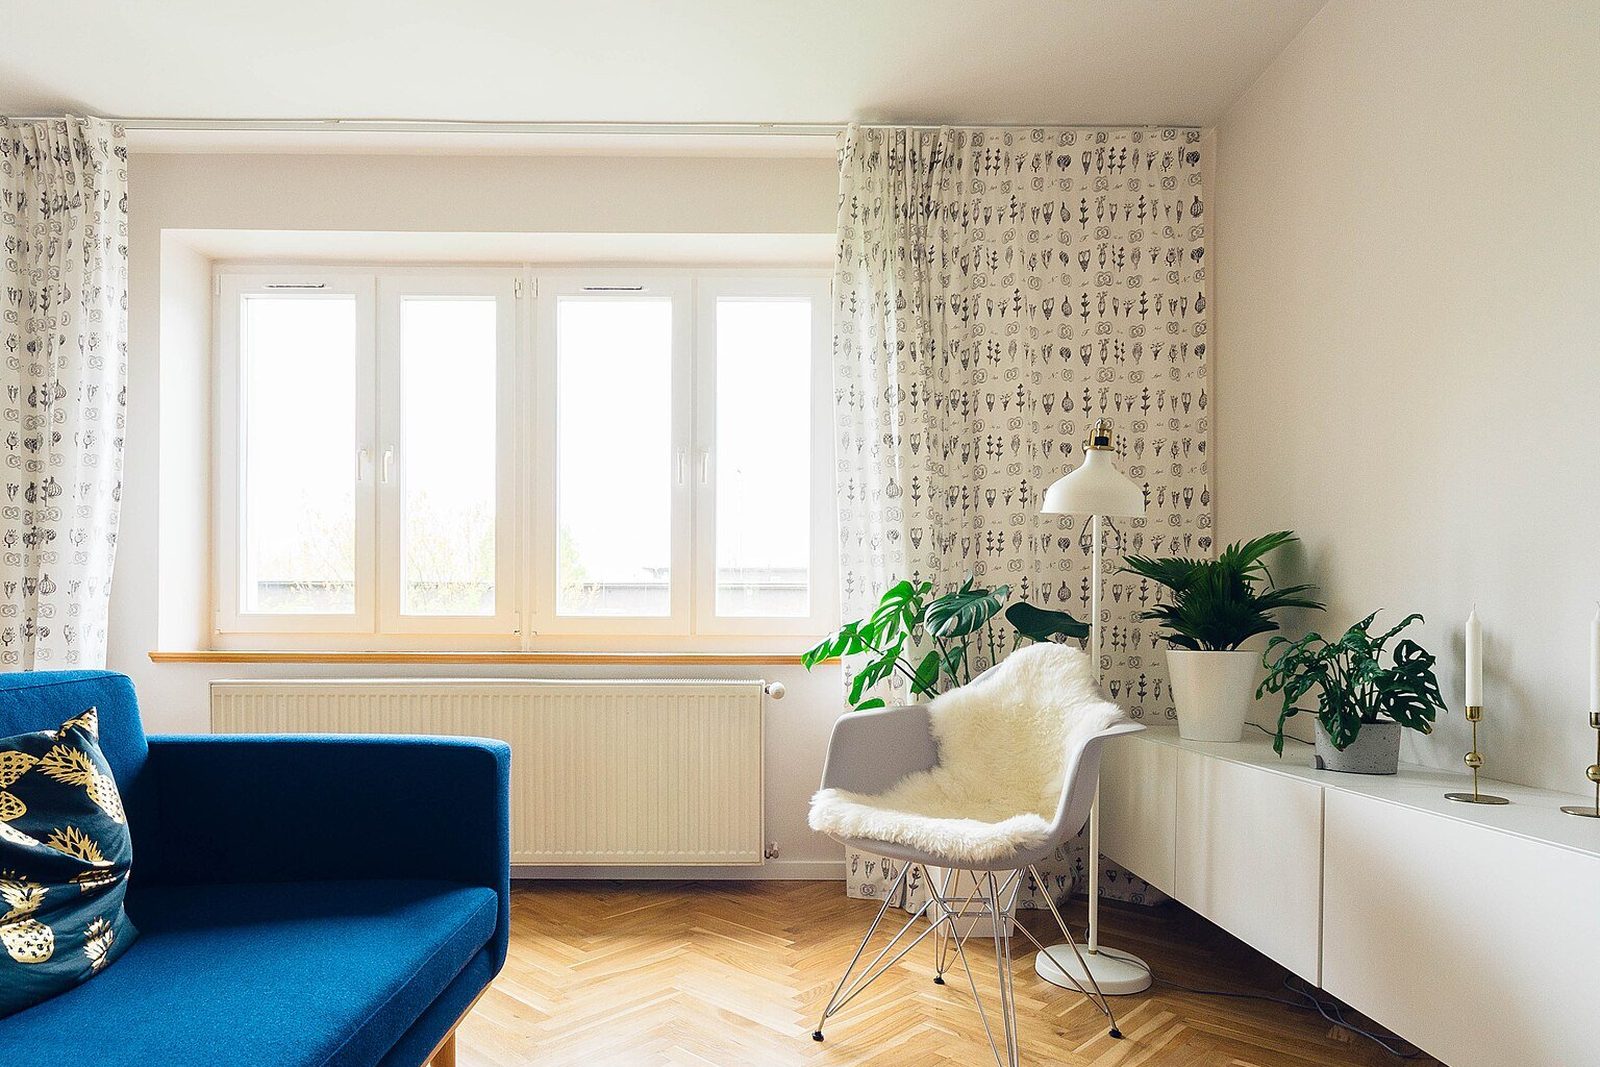
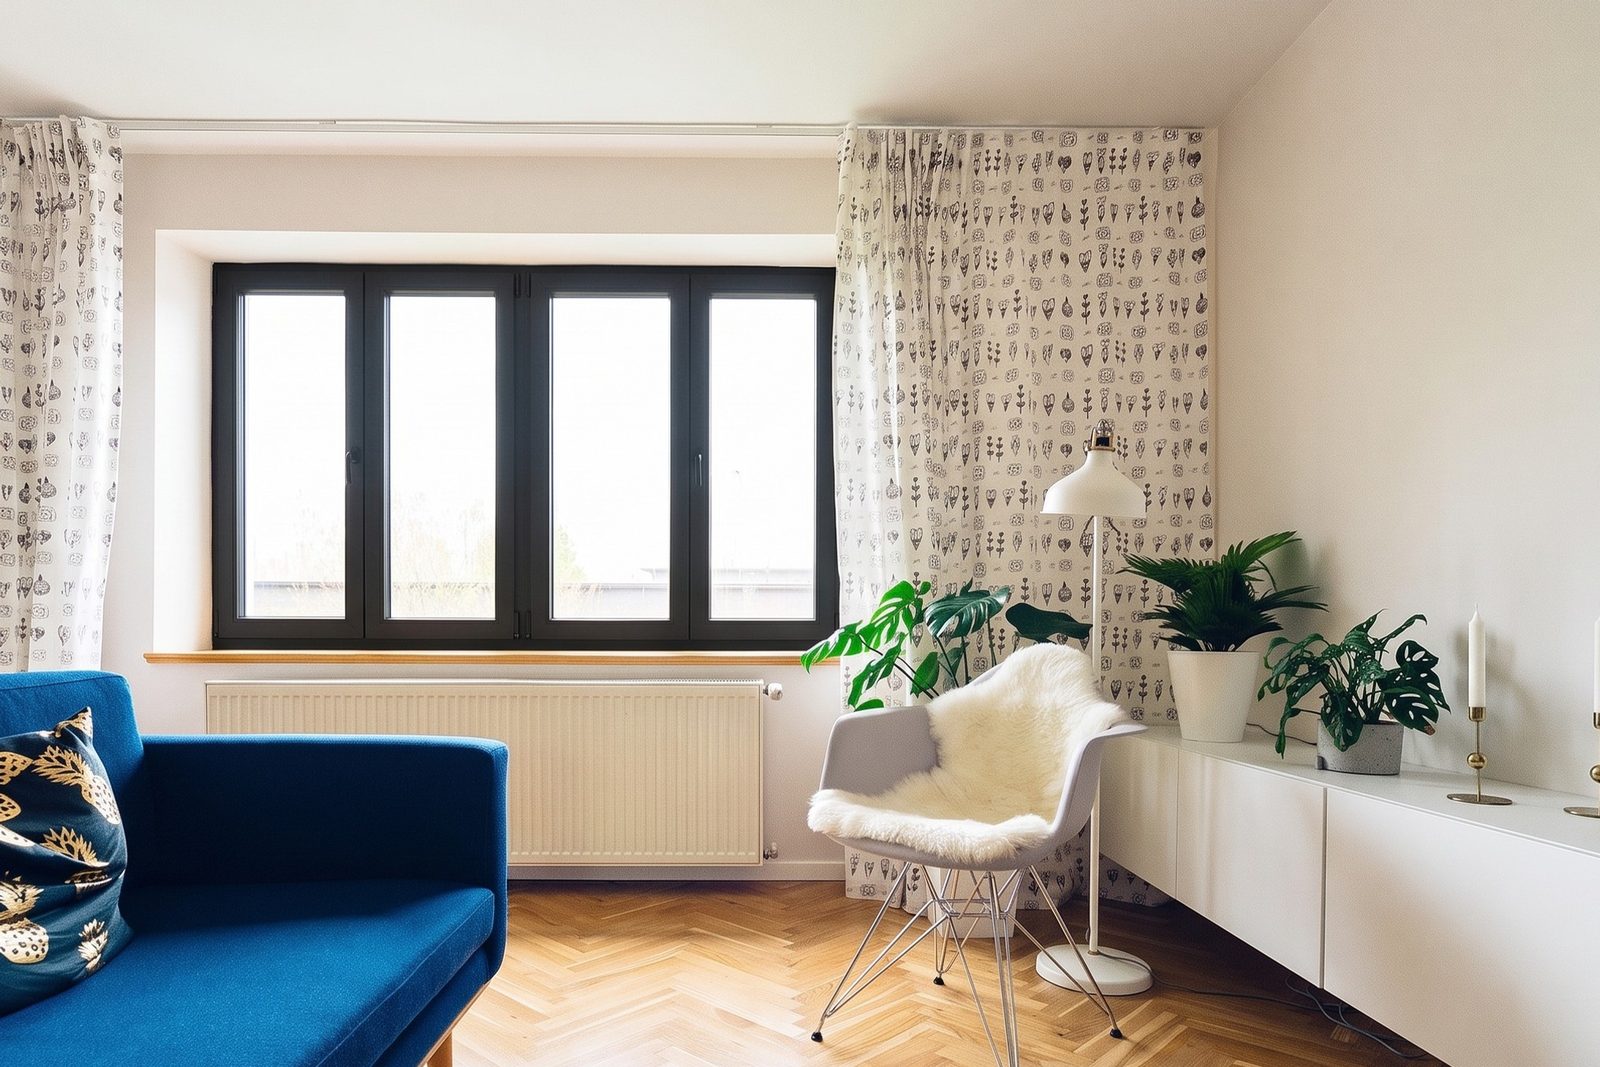
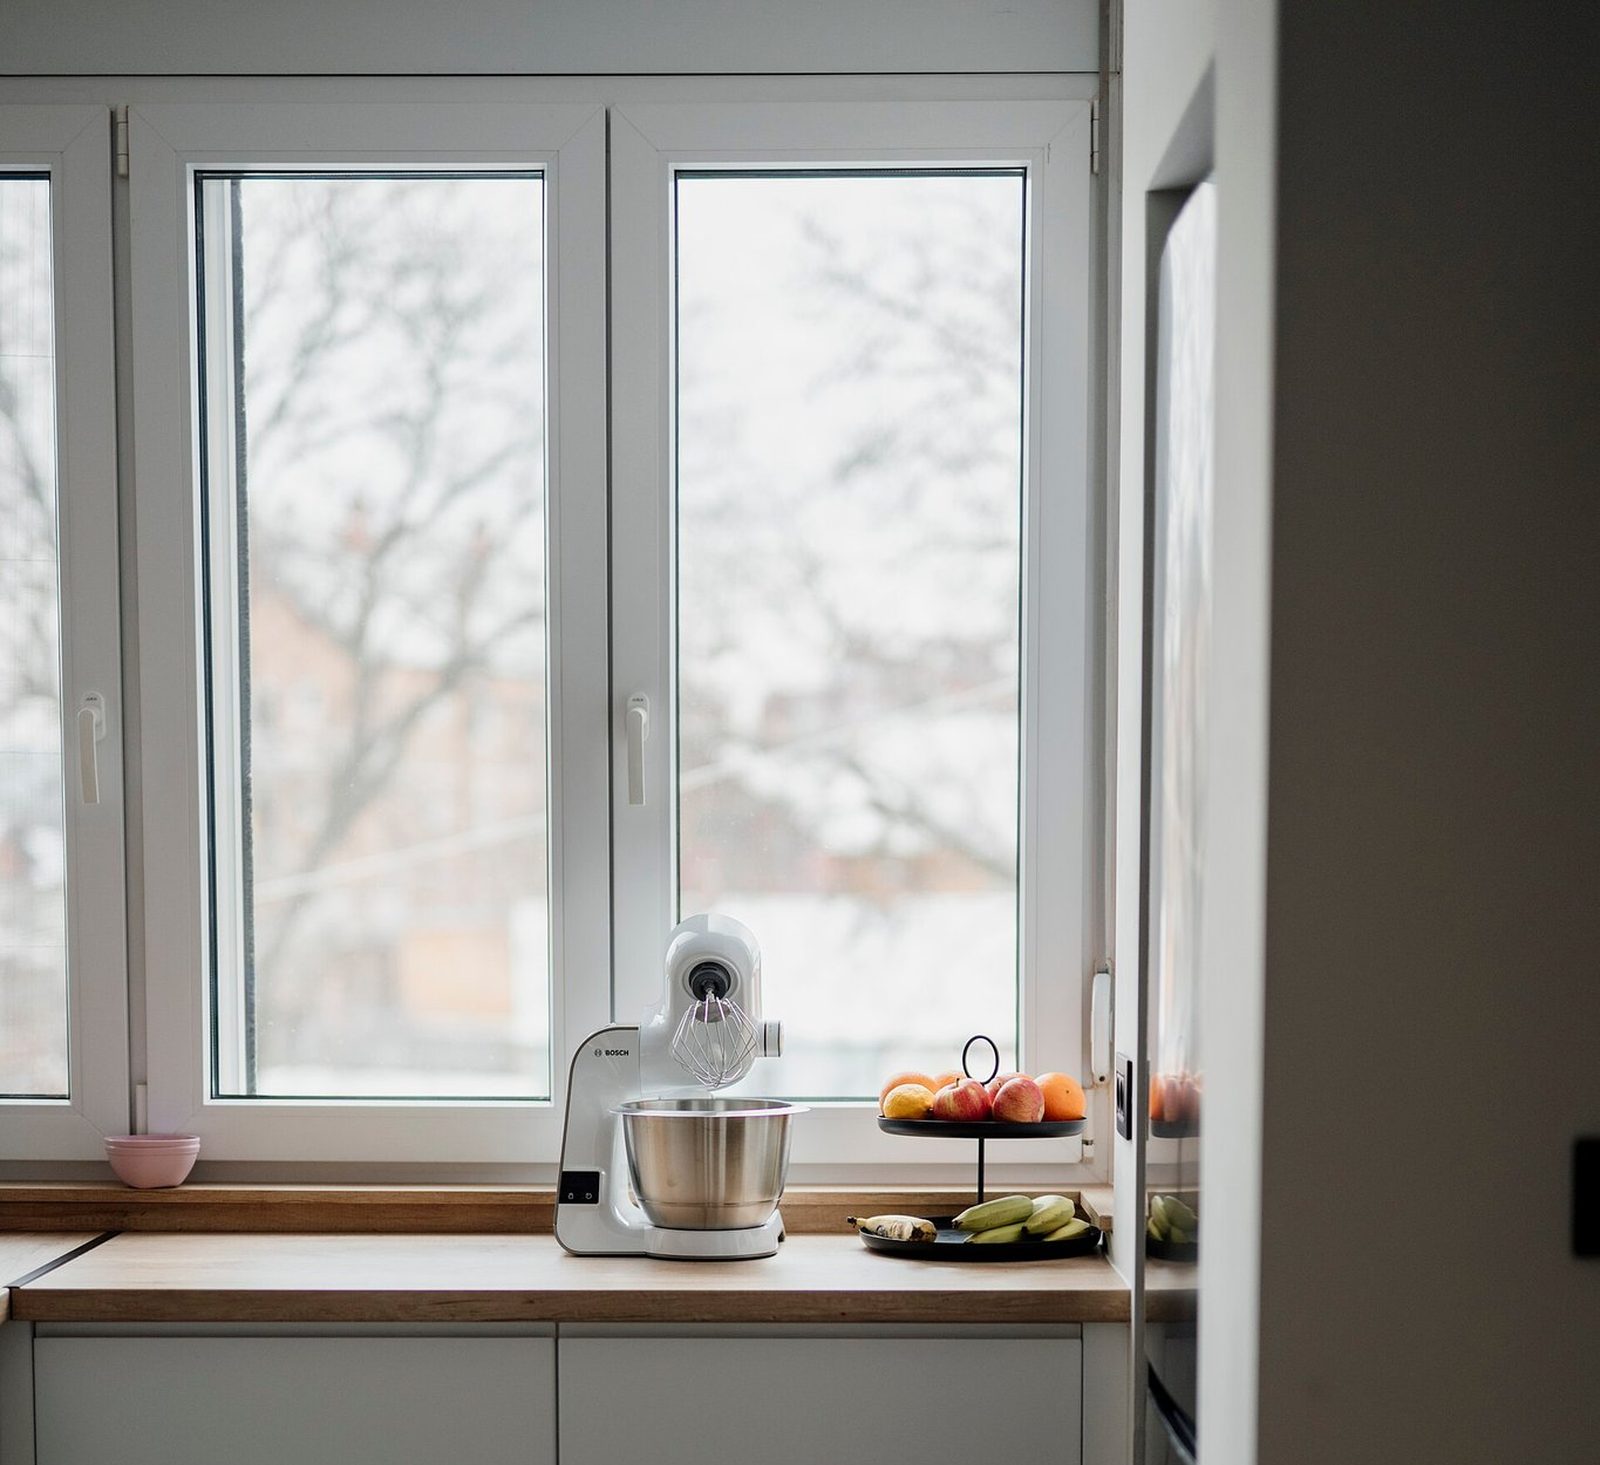
Inside shots are often the easier render: one window, steady light, nothing parked in front. Shoot the window the family looks at most, like the one over the sink or behind the couch.
- Stand where they sit, at the table or on the couch. That's the view they'll judge the window from.
- Get the whole window, sill to head, with a hand's width of wall on each side.
- Face the glass square on, phone level, at about the height of the middle of the window.
- Shoot by day, and tap the window frame before you shoot so the camera sets brightness for the frame, not the sky. Otherwise a bright window turns the frame into a dark outline.
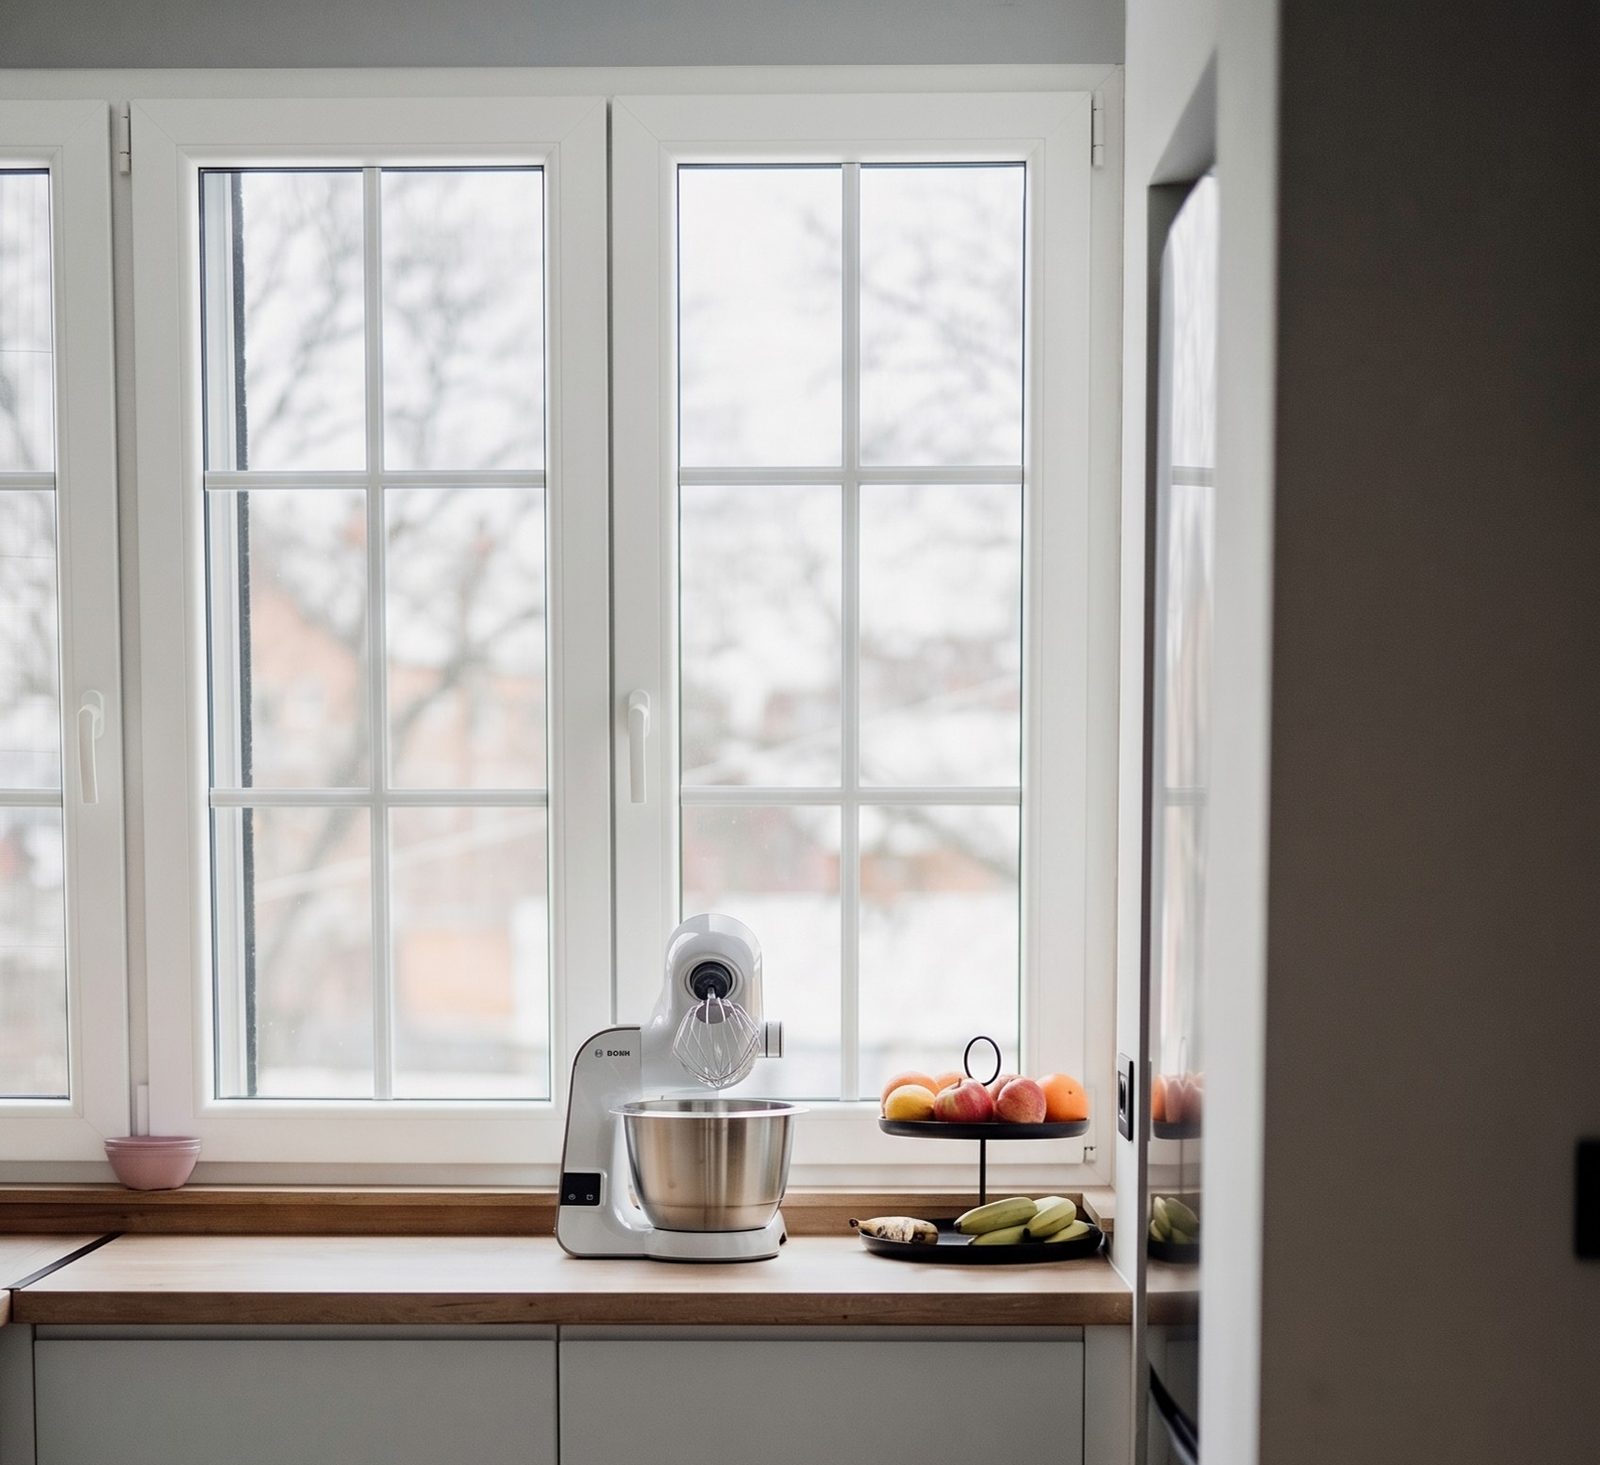
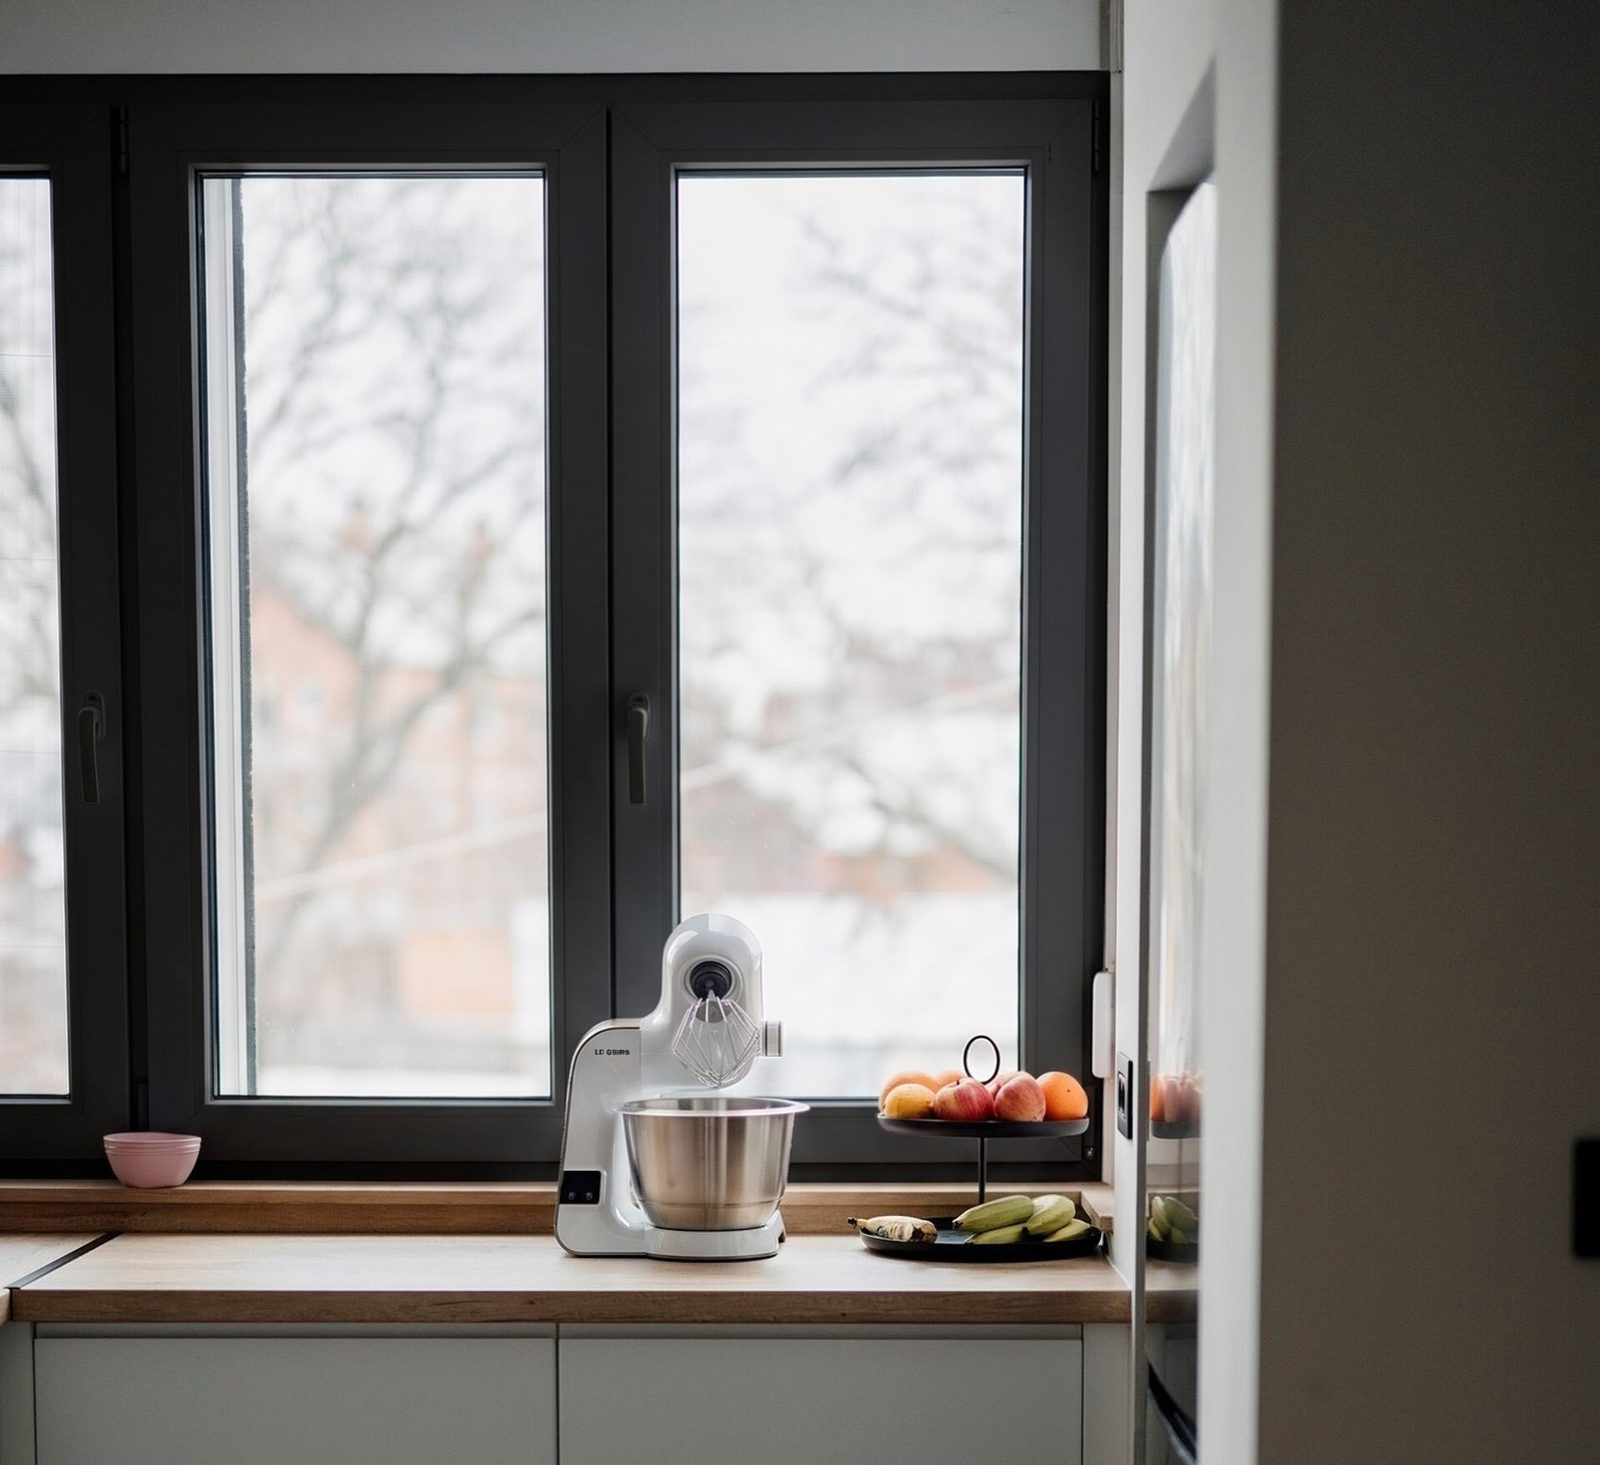
- You don't have to clear the counter. In the kitchen pairs below, the mixer and the fruit in front of the window stayed in the render.
How do you get a good photo from the homeowner?
Ask for one photo, not a set: the front, in daylight, from across the street. One clear ask is easy to answer; a list of six is easy to put off. Measuring tools are different: Hover's 3D model, for one, starts from eight exterior photos, one of each side and each corner1, and measure windows from photos covers those tools. For a full video call, see virtual window consultation.
When the photo that comes back won't render well, ask once more and say why. People are glad to retake a picture when they know what it's for. Text only people who asked to hear from you.
The photo request text
Hi, this is [name] at [company]. To show you what new windows would look like on your house, could you text me one photo of the front?
Stand across the street in daylight so the whole house fits, hold the phone straight on, and skip the zoom. That's all I need.
Send it from the number you'll text the render from, so the photo and the render stay in one thread.
Here's the front. Took it from the porch steps.
Thanks! From that close the windows at the far end get squeezed. Could you take one more from across the street, straight on?
Sure, here you go.
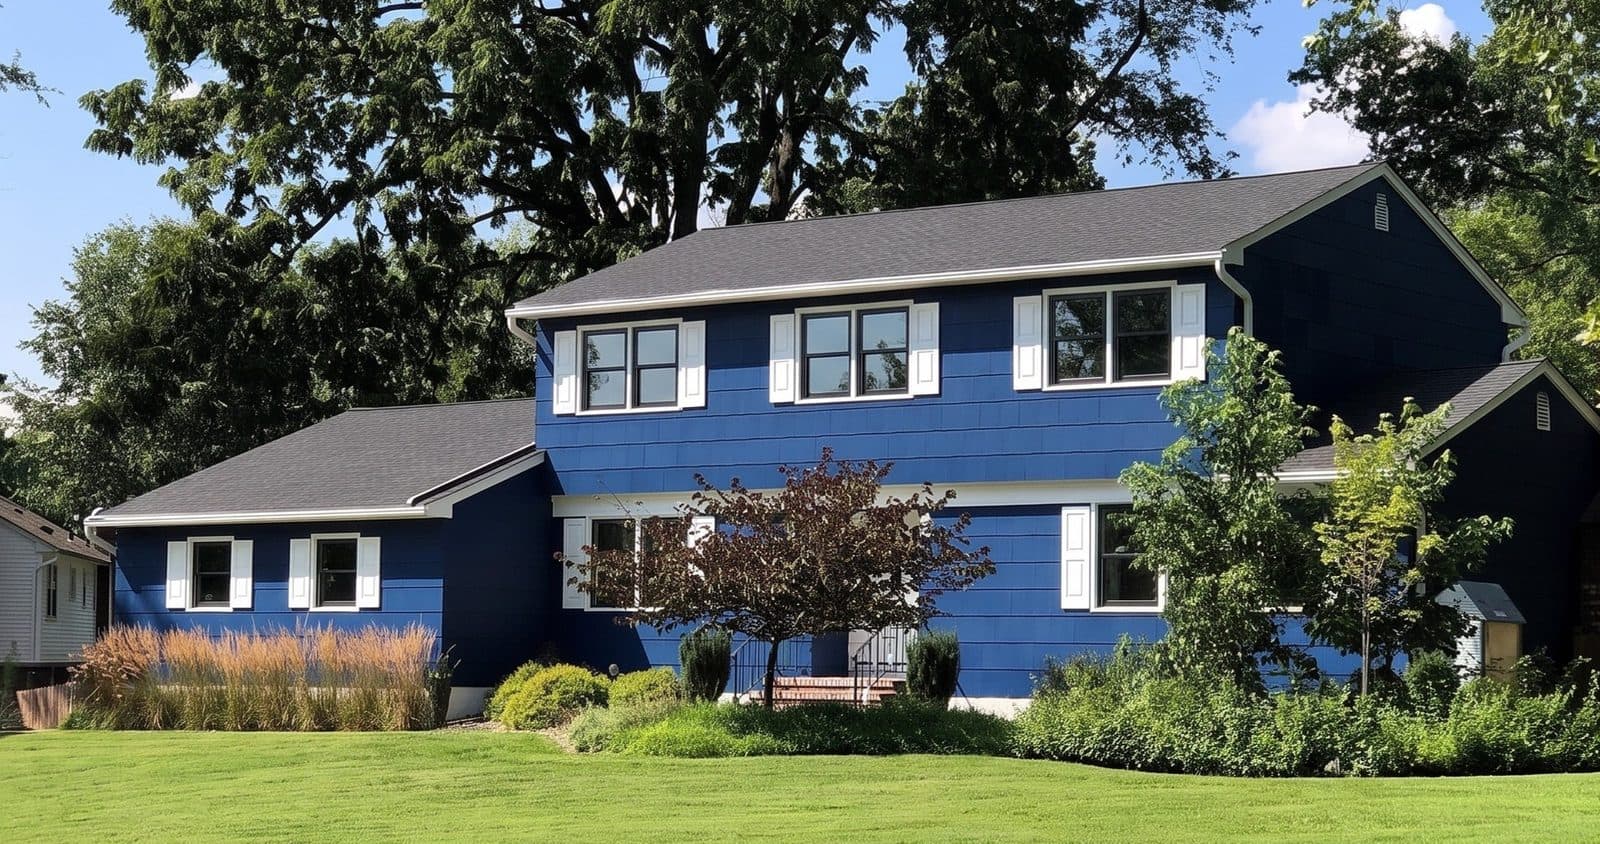
That's the one. Here's your house with the black frames we talked about. Want to see white with grids too?
 Render
How should a window company keep and use job photos?
- File them by address and date the day you take them, in one shared folder or your CRM, so the office, the installer and the next rep find the same photos.
- Keep the originals. A photo forwarded through texts and email can lose quality on the way.
- Shoot the same views from the same spots before the crew starts and again when the job is done. That's your real before and after for the portfolio.
- Ask before you post. Get the homeowner's OK in writing before their house goes on your website or social media, and leave out the house number and license plates.
- Label a render as a render anywhere you use it. The FTC says ad claims must be truthful, not deceptive or unfair, and backed by evidence2, so never present a render as a finished job. Posting is covered in social media for window companies. This is general information, not legal advice: check your state's rules and ask your lawyer.
Where the photo becomes a render
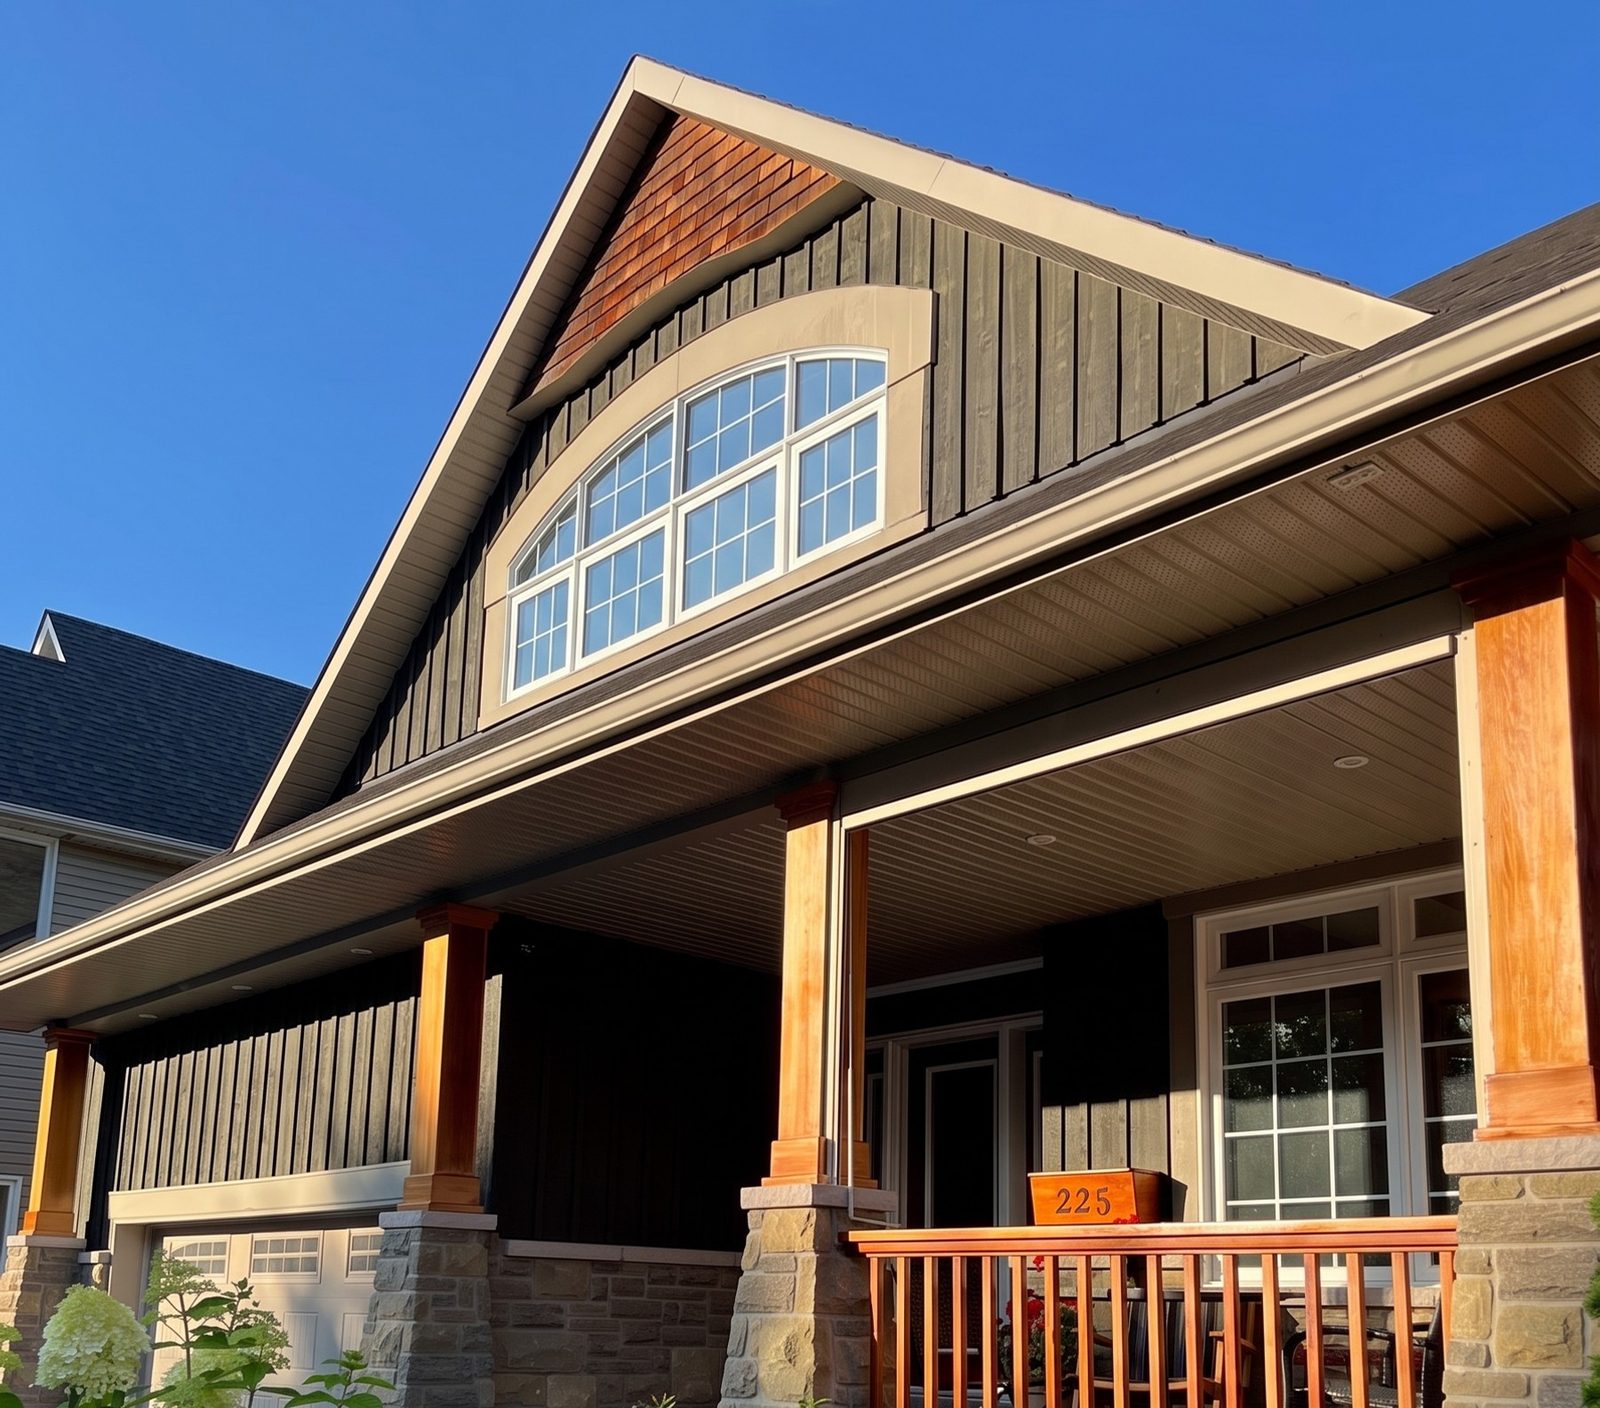
Right after you take the front photo on the walk-through. You've numbered the windows and noted the problems; the same photo now goes into the render. Pick the frame material, color and grilles you're quoting, and in 30 seconds the homeowner sees their own house with the new windows. Each window keeps its current style.
Show it at the table before the price: their first choice, then the alternative from the same photo, so only the windows differ. Text it with the quote that night. In the job file, the photo shows what's there now and the render shows the look they picked.